City bike disc brakes
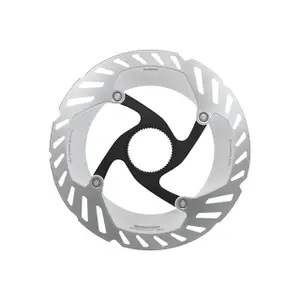
Starting at £47.94
£44.99


Starting at £64.19
£59.35
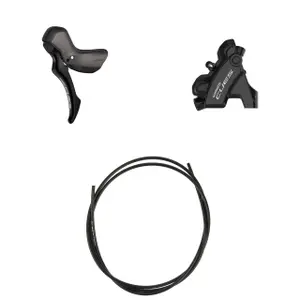
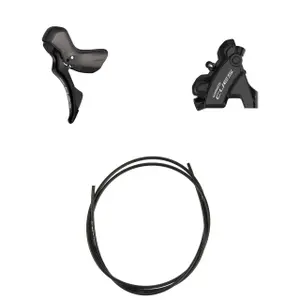


This page dedicated to city bike disc brakes gathers the essentials for choosing and maintaining braking that doesn't weaken in the rain: differences between mechanical and hydraulic calipers, disc diameter according to the weight of the bike, mounting standards, organic or sintered pads, and tips to eliminate squeaks and rubbing.
Stopping suddenly, even in the rain.
Why Disc Brakes Perform Better in the Rain
The disc brake clamps down on a metal disc attached to the hub, away from the rim that collects water, mud, and road salt. Its braking remains steady in rainy weather, whereas a brake that acts on the rim must first wipe off the water film before it can grip. The disc also doesn't wear out the rim, which retains its strength over the years.
In the city, this advantage is significant: you often brake, sometimes sharply in front of a pedestrian or a car door, with a bike loaded with panniers, a child seat or a battery. You can modulate the power with one or two fingers on the lever, leaving the others on the handlebars to maintain your line.
The Rest of the Wheel
Wheels, tyres, and city brakes also come in different varieties:
The entire range is available on the wheels, tyres and braking page.
Mechanical or Hydraulic Calipers for Urban Use
The mechanical caliper is activated by a standard cable: it fits with most city bike levers and can be repaired with easily found parts. Its weak point is the manual adjustment for wear, as often only one pad moves to press the disc against the other. The hydraulic caliper transmits force through a liquid contained in a hose: it provides more power with less effort at the lever and automatically compensates for pad wear.
The liquid varies by manufacturer, either mineral oil or DOT-type fluid, and should never be replaced with the other. A periodic bleed removes air or moisture that can make the lever feel spongey.
Disc Diameter, Mounts, and Pads
The disc diameter determines the braking power: 160 millimetres is suitable for a standard city bike, while 180 is for the front of an electric or cargo bike. The disc is secured to the hub with six screws or a central locking system, and the caliper attaches to the frame according to a mounting standard, post mount, flat mount, or international standard, possibly using an adapter.
Regarding pads, organic pads are quiet and grip well when cold, but wear out faster in the rain; sintered metal pads last longer and handle heat better, at the expense of being a bit noisier. After a change, the pads should be bedded in with a series of progressive braking.
Good Deals
Great deals can also be found in good plans, promotions, clearance, sales, Black Friday. The new arrivals showcase the latest collections, and items shipped within 24h are prepared and dispatched in 24 hours. The year’s highlights follow a stable order: the Black Friday at the end of autumn, the end-of-year holidays, the winter sales, the French Days in spring, then the summer sales and back to school.
Frequently Asked Questions
Why does the caliper squeal when braking?
A squeak often indicates that the disc or pads are dirty from grease, chain lubricant, or cleaning products. Clean the disc with isopropyl alcohol; oil-soaked pads should be replaced.
What to do when the lever doesn't slow down the bike anymore?
On a mechanical brake, first check the cable tension and the thickness of the pads. On a hydraulic one, a lever that touches the handlebars indicates air in the system or a leak: the bike shouldn't be ridden until a bleed or repair is done.
How to realign a caliper that rubs on the disc?
Slightly loosen both caliper mounting screws, pull the lever so the pads centre the caliper on the disc, then tighten the screws while holding the lever. If rubbing persists in spots, the disc may be warped.
How to clean disc brakes without damaging them?
Use a specific brake degreaser or isopropyl alcohol on a clean cloth, never aerosol lubricants nearby. Avoid high-pressure jets directed at the caliper, as they can force water into the seals.
Can you install disc brakes on a city bike that doesn't have them?
Only if the frame and fork have the mounting lugs for a caliper and if the hub can accept a disc. Without these components, the conversion requires changing the fork, wheels and sometimes the frame, which is rarely cost-effective.