Pedal tools and bottom brackets


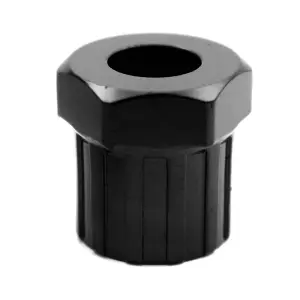
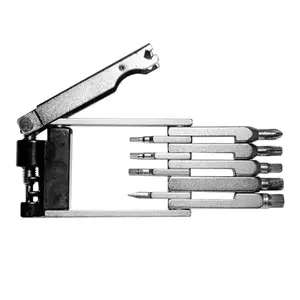


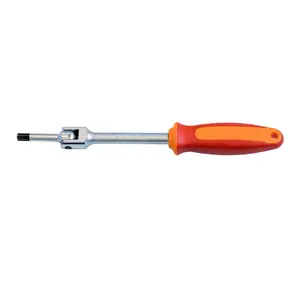
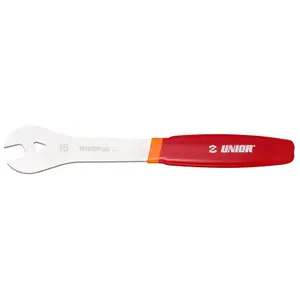


Our Crankset Tools page brings together our tips for taking apart and reassembling a crankset yourself: crank extractor, threaded bottom bracket wrenches, press and extractor for press-fit bottom brackets, crank cap tool, chainring bolt wrench, pedal wrench, and torque wrench.
The crankset workshop, at home.
The crankset
On a square-taper crankset, the crank arms are removed with a remover that screws into the crank and pushes it off the axle. On modern hollow axle cranksets, the adjustment cap is unscrewed with a specific tool, followed by the tightening screws of the left crank before removing the axle. Each crankset system has its own tools: identify your model before purchasing.
The workshop
Bicycle tools also come in various types:
All tools are gathered on the tools page.
The cups
The threaded bottom bracket is removed with a notched key suitable for the number and diameter of the notches on the cups: be careful, the transmission side cup often unscrews in the opposite direction. The press-fit bottom bracket, tightly fitted, is removed with a hammer extractor and is reinstalled with a press, which pushes the cups straight without damaging the frame.
The finishes
The pedal wrench, long and thin, of fifteen millimeters, or an Allen key depending on the models, allows for the removal of pedals; the left pedal unscrews clockwise. The chainring bolt key secures the rear nut during tightening. The torque wrench ensures the recommended torque, essential on carbon parts and modern cranksets.
Bargain deals
Good deals can also be found in bargain deals, promotions, clearance, sales, and Black Friday. The new arrivals feature the latest collections, and items shipped in 24h are prepared and dispatched within 24 hours. The highlights of the year follow a stable order: the Black Friday at the end of autumn, the end-of-year festivities, the winter sales, the French Days in spring, then the summer sales and back-to-school.
Frequently asked questions
What tool do I need to remove a square-taper crankset?
You need a crank extractor: you screw it into the crank, then tighten the central screw that pushes against the axle and dislodges the crank. First, remove the fixing screw or nut with a socket wrench.
How do I remove a hollow axle crankset?
Unscrew the adjustment cap with the specific tool, then loosen the tightening screws of the left crank. Then just push the axle to remove the whole assembly from the right side.
Which key to use for a threaded bottom bracket?
Each system has its own key: external notched key for bottom brackets with external bearings, notched socket for cartridge bottom brackets. Identify your model before buying the tool to avoid damaging the parts.
Why use a torque wrench on a crankset?
It ensures the tightening torque recommended by the manufacturer: if it's too low, it causes play and creaking; too high, it damages threads and carbon parts.
How do I extract and install a press-fit bottom bracket?
You use a specific extractor that removes the bearings from the frame, then a press to install the new ones perfectly straight. A hammer should be avoided during reassembly, as it risks deforming the housings.